If you read my burlap curtain DIY post, you might have noticed that I had been doing some pretty heavy hinting toward a new project that I had started.
It took four months of measuring, ironing, painting, procrastinating and measuring, but I finally finished my new duvet cover.

Beautiful, isn’t it? I started this project mid-April, when I came across some bedding I really loved at Target.

Pretty, right? The shades of mint, gray and yellow were almost exactly what I had in mind for my bedroom re-do. Luckily, I did my due diligence and read the comments and reviews and found out that, oh no, the bedding didn’t look exactly how it appeared in the pictures.

The teal wasn’t exactly ugly – it just wasn’t really my taste.
So, I decided to do the only logical thing, and make my own. It was four months of stress and frustration, since I was in the middle of moving, plus there was a finals week or two thrown in there, but I’m so glad I opted to take the harder way out, because I love my one-of-a-kind custom bedding.
I bought a $40 white duvet cover (full-sized, for anyone who cares that intimately about my bed), new sheets to match, three acrylic based paint samples from the paint department of Menards, kitchen sponges, fabric medium and freezer paper.
I laid the entire duvet cover out on my floor. (By the way- I definitely don’t recommend this if you live in a tiny apartment like me. Wait until a nice day, and then make a day out of it by taking it outdoors.)
Jake, my boyfriend, measured strips of freezer paper 1.5 inches wide. We ironed them onto the duvet cover, four inches apart, first diagonally one way, and then diagonally the other way, creating a series of squares.


We had pre-measured where we wanted the strips to lay by using thread and tape, since Jake isn’t too gifted with a sewing needle.
Then, I used an X-Acto to cut out the pieces that were interrupting my chevron design.

Then, the painting began. I mentioned earlier that I had used acrylic-based house paint samples to do this project. Fabric paint is so expensive, and thick. Using a 1:1 ratio, I mixed my paint with fabric medium (available at your local craft store) and sponged it on with a cheap dish sponge. The fabric medium makes the house paint flexible and softer, and it’s only about $2 for a bottle of it. It took me two bottles for the entire project.

Sponge it on. Don’t forget to use some kind of newspaper or cardboard underneath, so the paint doesn’t bleed through.

It doesn’t take long to dry, so if you’re impatient like me, you can peel the freezer paper up along the way.

Halfway there! (I believe I mentioned being in the process of moving during this craft. We worked on this project from four different locations- what a hassle.)
And finally, finished.

I gave the paint about 12 hours to dry before I flipped the thing inside out, dried it to help set the paint, washed it with some fabric softener and threw it back in the dryer with some fabric sheets to get it as soft as possible. I have to admit, I was holding my breath the whole time it was in the dryer, but luckily, it didn’t shrink. I had also tested this entire project on one of the pillow shams that came with the duvet cover set ahead of time, just to make sure the paint wouldn’t wash off or flake. It didn’t move a bit.
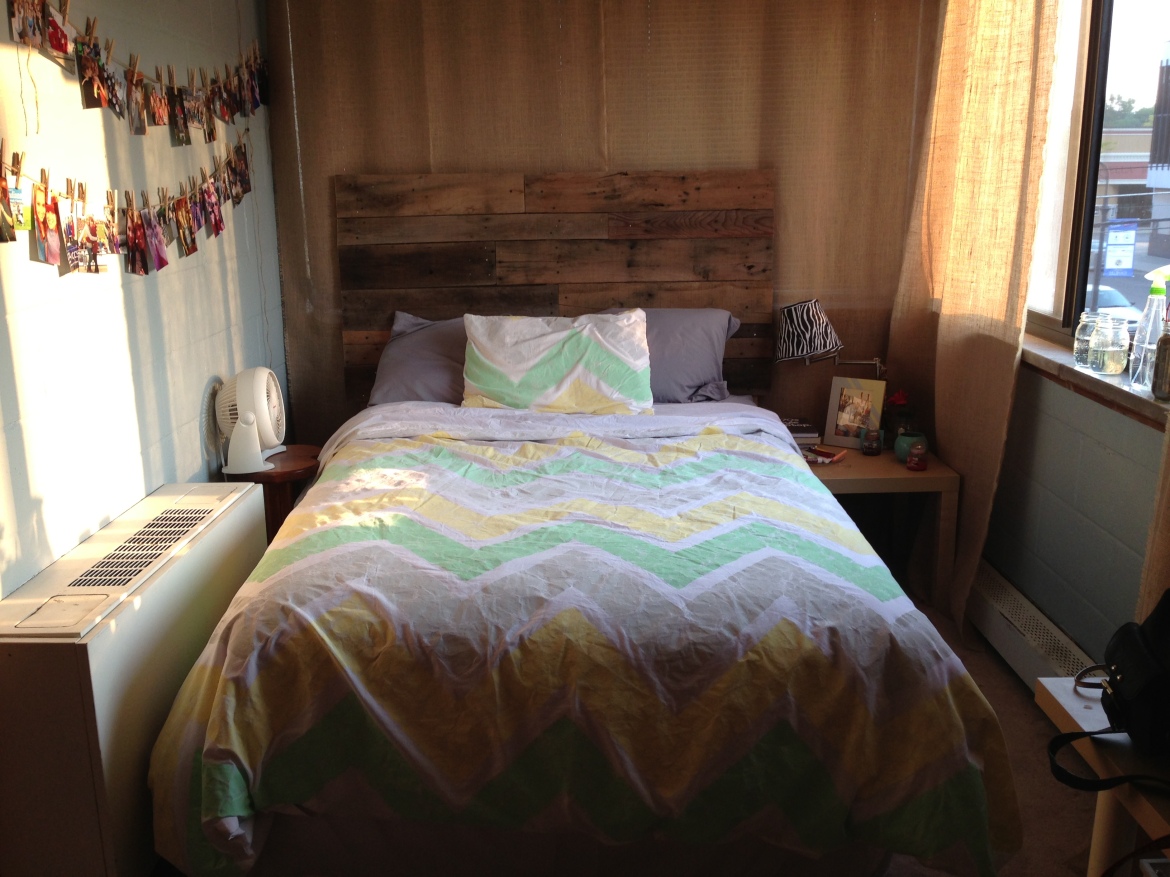
Recap: I’m thrilled with this. The colors are perfect, I painted inside the lines the whole time (victory) and it’s entirely unique.
Just for fun, here’s a photo of my old bedding this will be replacing (in yet another apartment).

I can’t say I’m entirely heartbroken to see this sparkly purple monstrosity go. For those in the audience keeping count, I got this bedding as a Christmas present my freshman year of high school. So it’s been with me for almost a decade, and it’s safe to say 23-year-old me has much different tastes than a 14-year-old me did.


