I swear, the hardest part of the holidays (aside from not gaining 20 pounds from all the amazing food) is keeping secrets. I’m absolutely dying to tell everyone what I bought made them for Christmas, and I have a dozen family holiday recipes, but I must remain absolutely hushed about all of it. It’s slowly killing me you guys, seriously.
On that note, my blog’s become a bit more sparse in terms of DIY projects and crafts lately. Everything’s been going on behind the scenes, but I haven’t been blogging in order to keep a lot of these projects top secret. Sorry friends and family! My keyboard is closed. This one’s a spoiler though- take what you can get! These candles are so cute, easy and cheap, and since they’re only a small part of a slew of holiday gift baskets, I figured I could give away a small holiday sneak peek to any friends and family members who read my blog.
This is my first experience with wax candle making, and I have to say, it really isn’t too hard if you just follow the step-by-step directions. Although, I felt a little like a cheater because this is almost TOO easy. I did make a few mistakes, but with a bit of practice, I can see this becoming a household routine for me.
–
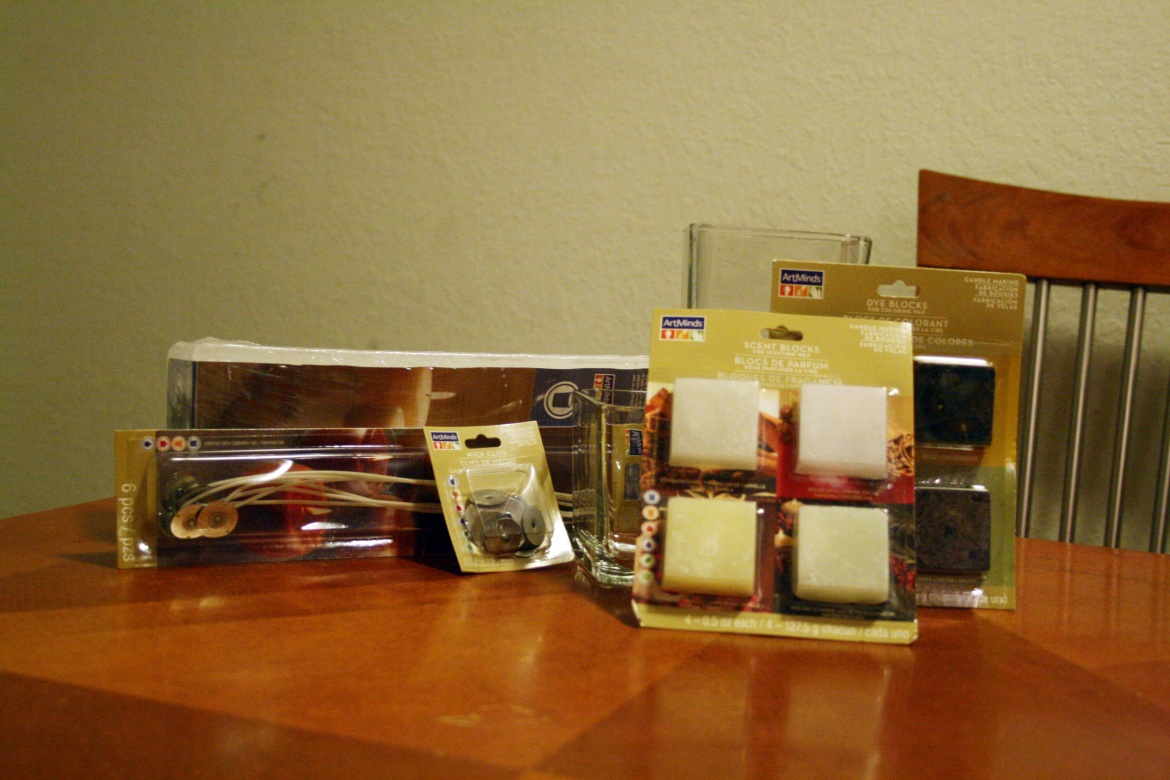
You’ll need:
Candle wax (We grabbed a huge block of this from Michael’s with a half-off coupon.)
Scent blocks (These come in themed scents from ArtMinds- we grabbed a holiday package and used an evergreen scent.)
Color blocks (ArtMinds as well.)
Wicks
Metal wick holders (We bought pre-packaged, so the wicks and metal were already attached.)
Glass candle containers (Check your dollar store! Much cheaper than the jars Michael’s had on display next to the candle making supplies.)
Various pots, pans, burners, etc.
–
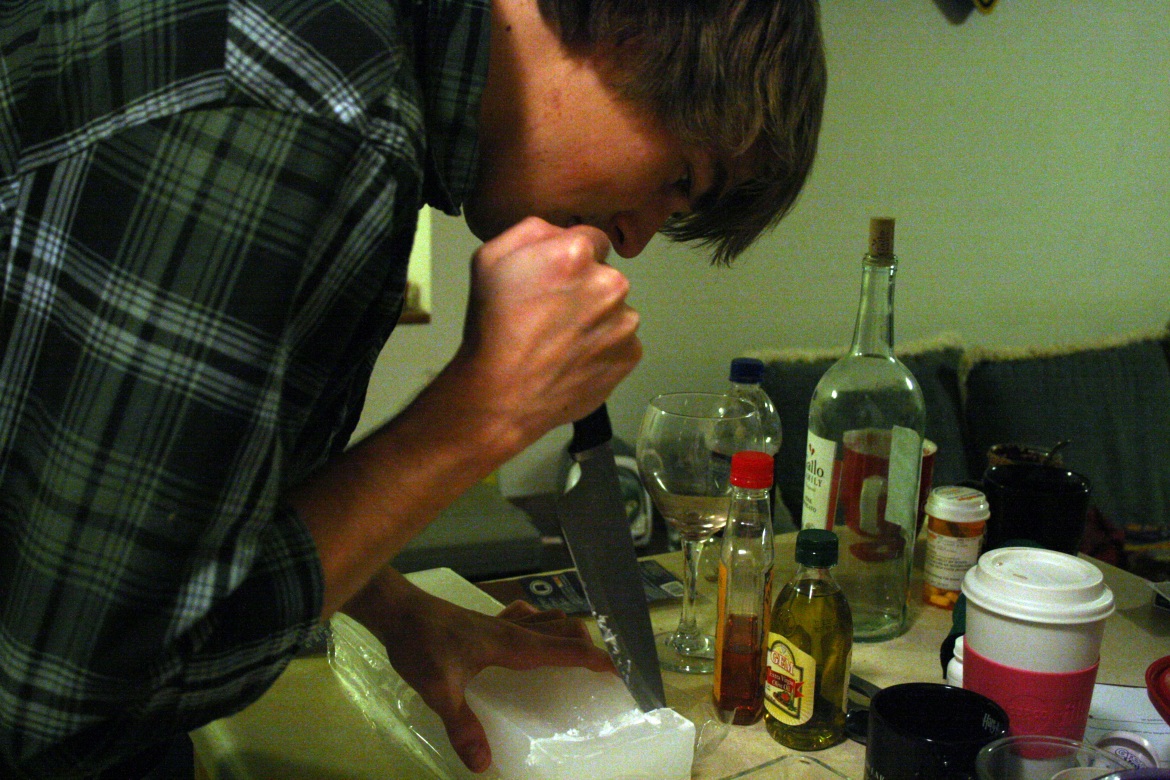
Start by cutting your wax into large chunks. I didn’t really do too much precise measuring- I just sent this guy to work.
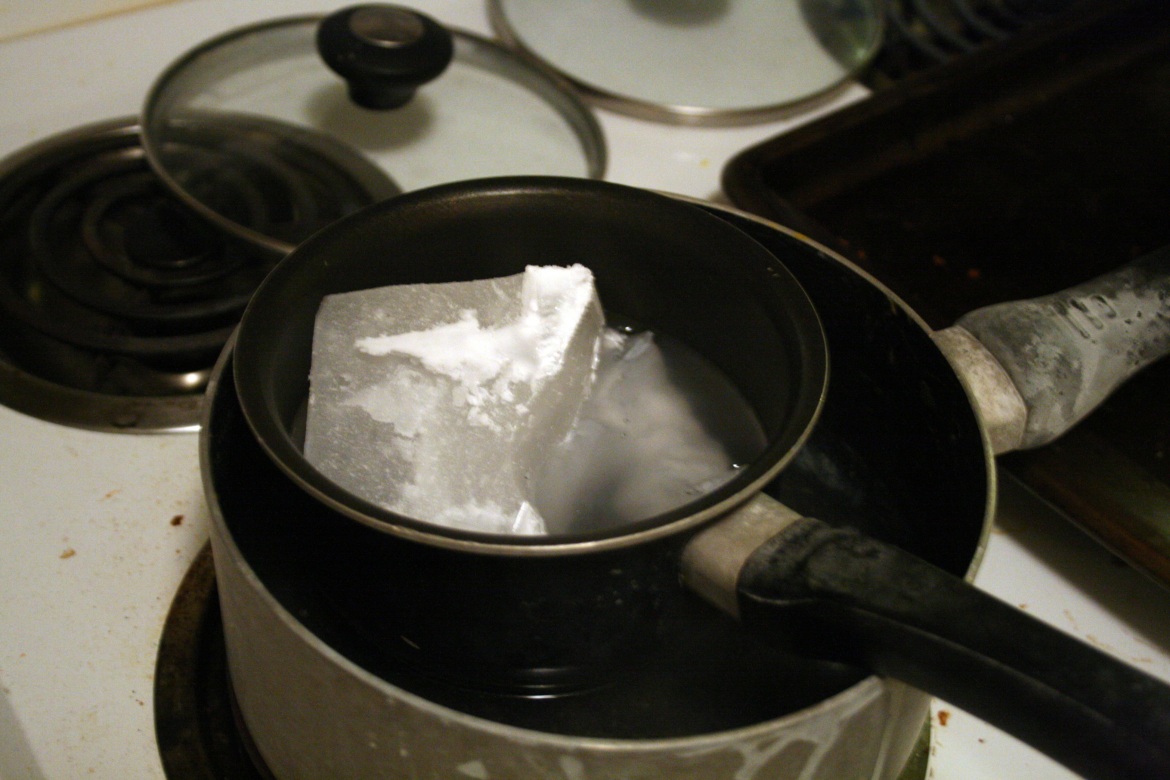
He had fun. At this point, you’re supposed to use a double boiler to heat the wax until it melts. Because I’m currently living in an apartment with four boys in their early 20’s, we made this set-up work for us.
Water in bottom, candle wax in top. Check. Some of the advice I read online said to break the wax into smaller chunks so it would melt faster. I made two batches of wax, and I have to say- it just wasn’t worth it. All the little shards and pieces just fuse back together into one big piece in the saucepan, so it wasn’t worth it to spend the time chipping at the large block. Just toss it in and be patient with it. After your wax is thoroughly melted, add your scent block and color block according to package directions. We used an eighth of a color block and a quarter of a scent block. Stir until everything is dissolved.
While your wax is melting, you can start preparing your candle holders. Dip the metal end of the wick into some wax, and use that to adhere it to the bottom of your glass candle container. Then, roll the extra wick around a pen, pencil, paintbrush or skewer and position it carefully in the center of the candle. This keeps your wick in the center when you add the molten wax. Unfortunately, I don’t really have a great picture of this, but it isn’t too tricky to figure out.
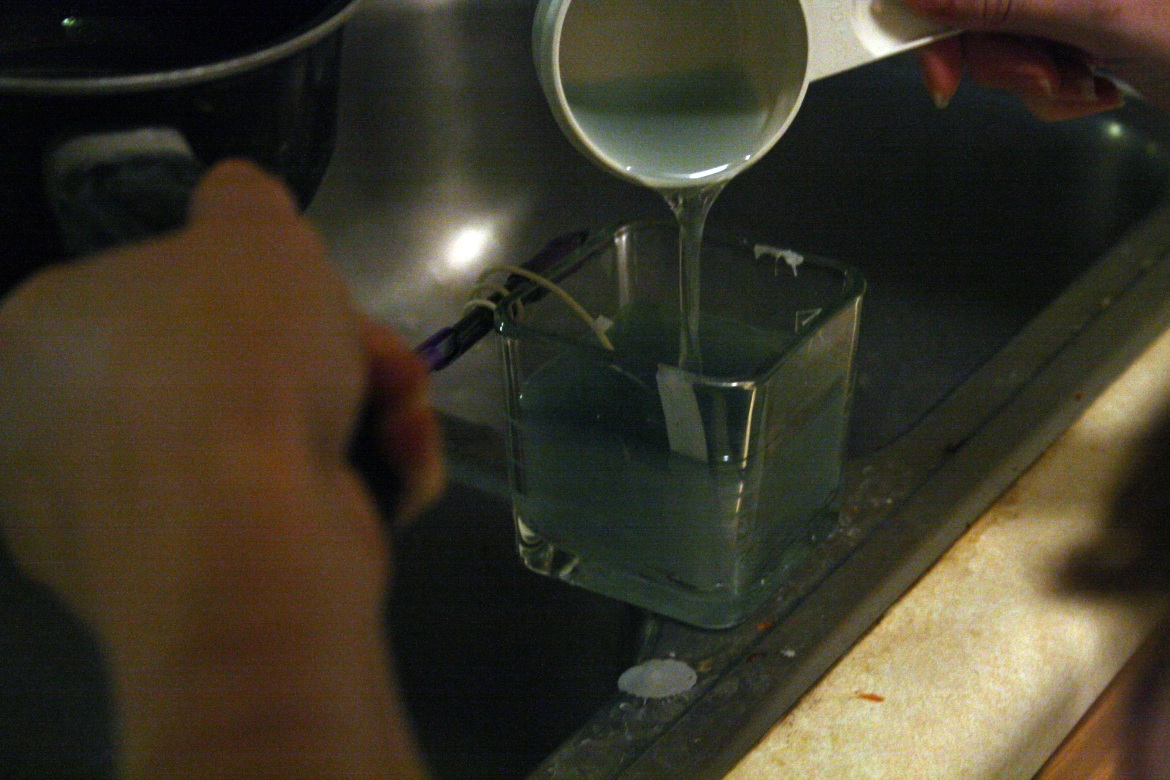
Then, pour your wax. Only fill your candle halfway full, and be very careful. Like most crafts I do, there’s something very hot and potentially dangerous involved. That would be the wax.
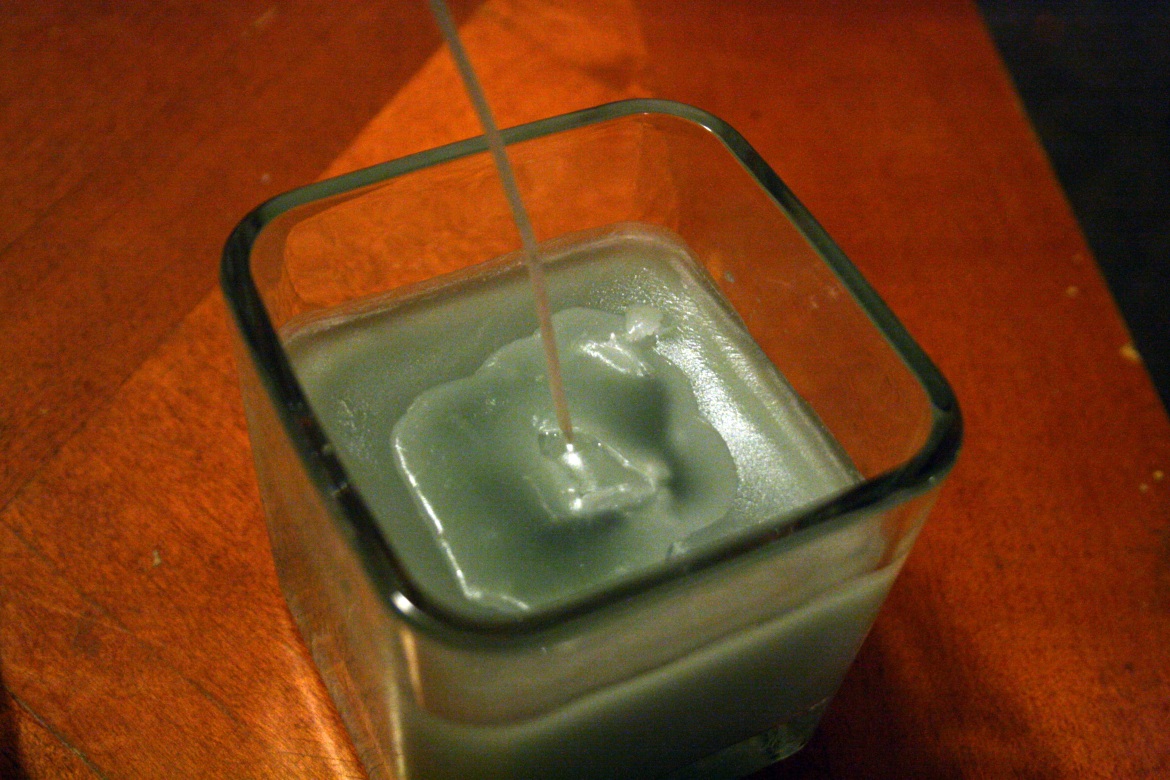
(You can see how I wrapped the excess wick around a pencil here.) Once your candles are half-full, let them cool. The reason? As the wax cools, it will contract. If you pour all at once, your candle will slope downward in the middle, and you’ll have a massive ugly crater. Once your wax cools just a bit, stab the center around the wick to let some of the air out and force the wax to move down a bit.
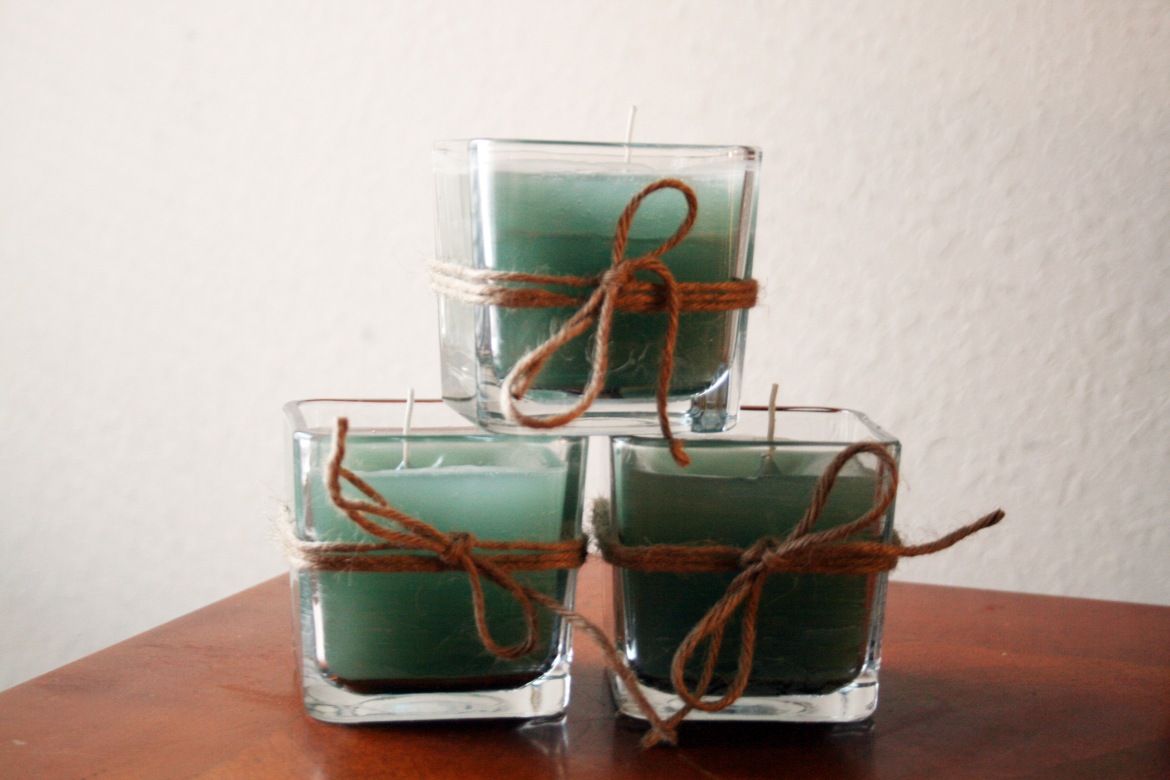
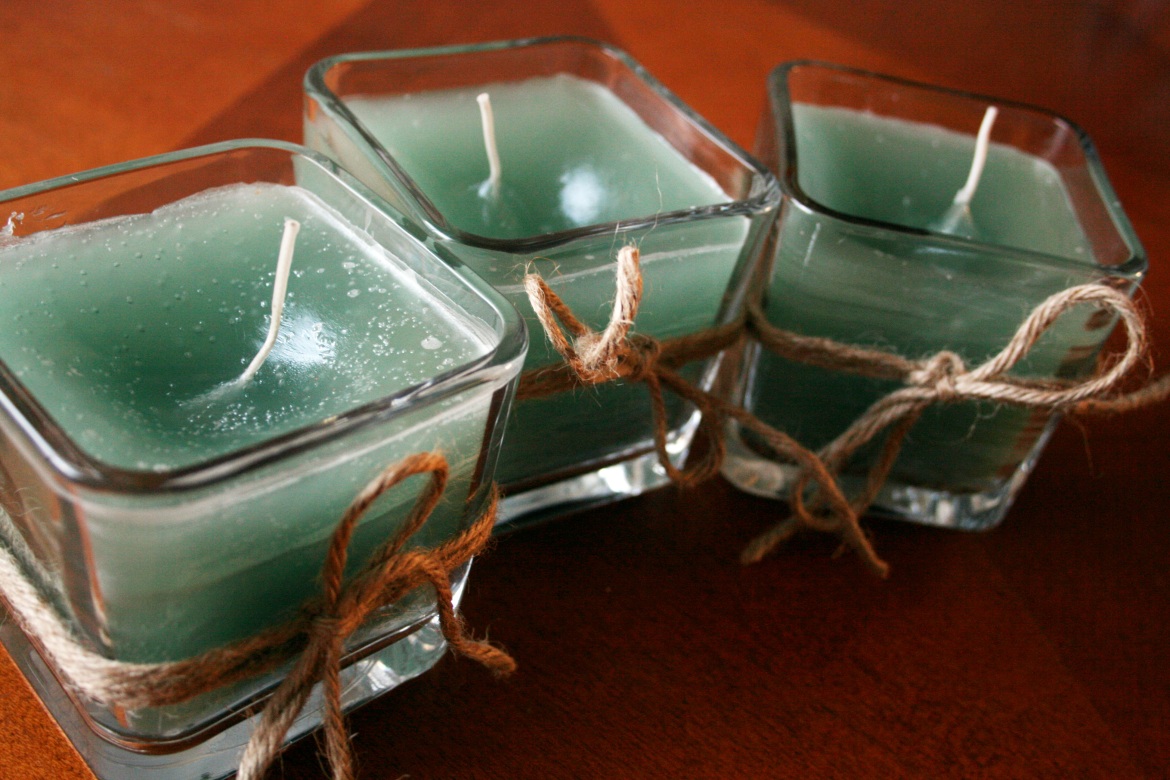
(See how the center is already caving?) Then, repeat the process and fill all the way. That’s it! Let them cool, trim the wick and you’re all set. I tied mine up with a few bits of twine too, just for decoration, and I’ll probably put a piece of pine branch in each before I tuck them inside the gift baskets. My finished candles still had air bubbles when they cooled, but for a first attempt, this wasn’t bad. These are a cute and fun way to dress up gift baskets, or make for yourself. They smell great, too, and if you buy in bulk, this is a way cheaper alternative to Yankee Candle. Here are a few more pictures for you guys.
Lots of bubbles in the one on the left. Oh well! It still smells absolutely great and is functional. This is only one of the small crafts I’ve made for gift baskets this year, and I’m still making more! I’m always open to ideas, too. What do you make to put in your holiday gift baskets?
Happy wax melting!


