Hello! It’s been a while, hasn’t it?
I’m not going to lie- this holiday season got a lot busier than I’d expected. I ended up having to pass on some of the really cool DIY gifts I had planned to make, and ended up swapping some of my ideas for some locally-bought products. Food Fridays fell by the wayside too, when I ran out of time to cook. It was a shame, but with work meetings downstate and a crazy work schedule (including working ON Christmas- no lie- I told you I was busy!) I didn’t have much of a choice.
However, shortly after Christmas, I had a nice four-day weekend for working practically non-stop. My good friend Amie and I decided to head to Michael’s to put together some of the crafts on our insane “to craft” lists. Here’s what I came up with.
Cute, right? I found something similar on Pinterest and fell in love with the idea. I clicked through to the link aaaand… the product was $80. Ouch. No offense to the seller, but on my very small post-grad budget, I was sure I could come up with something similar for much less.
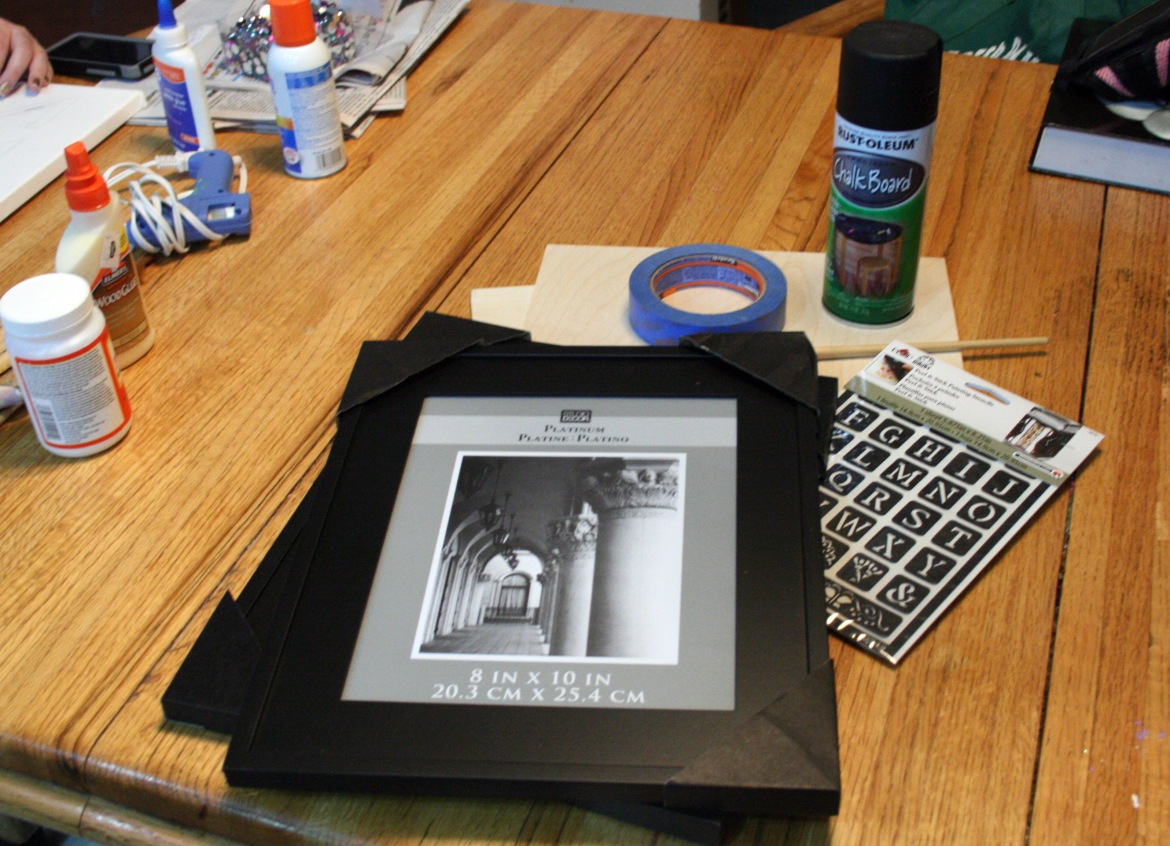
Cue: Randi and Amie head to Michael’s! Here’s what I picked up:
The frames, lucky me, were buy one get one free. I decided to make two – one for my side of the bed, and one for Jake’s. I picked up a $25 frame and it’s free counterpart, some $6 reposition-able stencils, two pieces of thin plywood and a can of chalkboard paint. Sales and coupons means this project cost me just about $30 for two. Sweet!
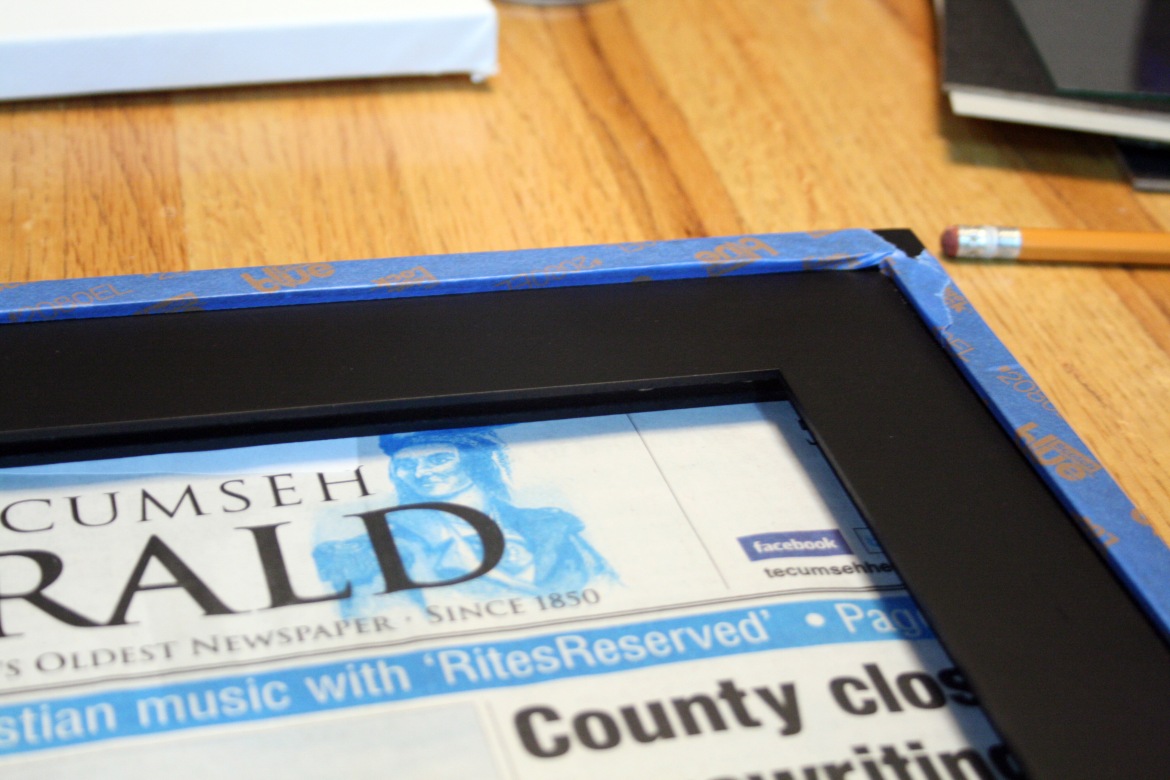
I started by taking the frames apart and painting them. I didn’t need the glass fronts for anything, so those were tossed to the side. I used the painters tape I had sitting around to tape off the edges of the frames.
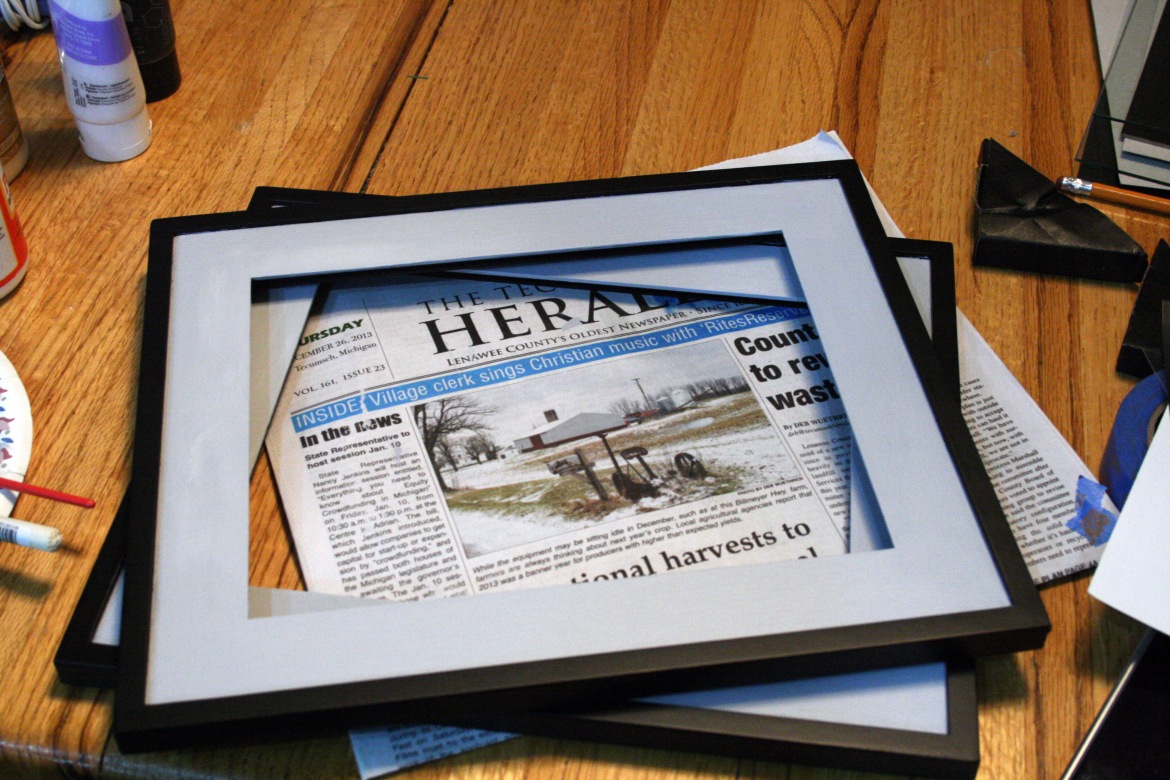
I decided to paint the inner rim of the frame a light gray. I mixed together some black and white acrylic paint until I got a shade that somewhat matched my bedroom’s color scheme. After a few light layers, this is what I got.
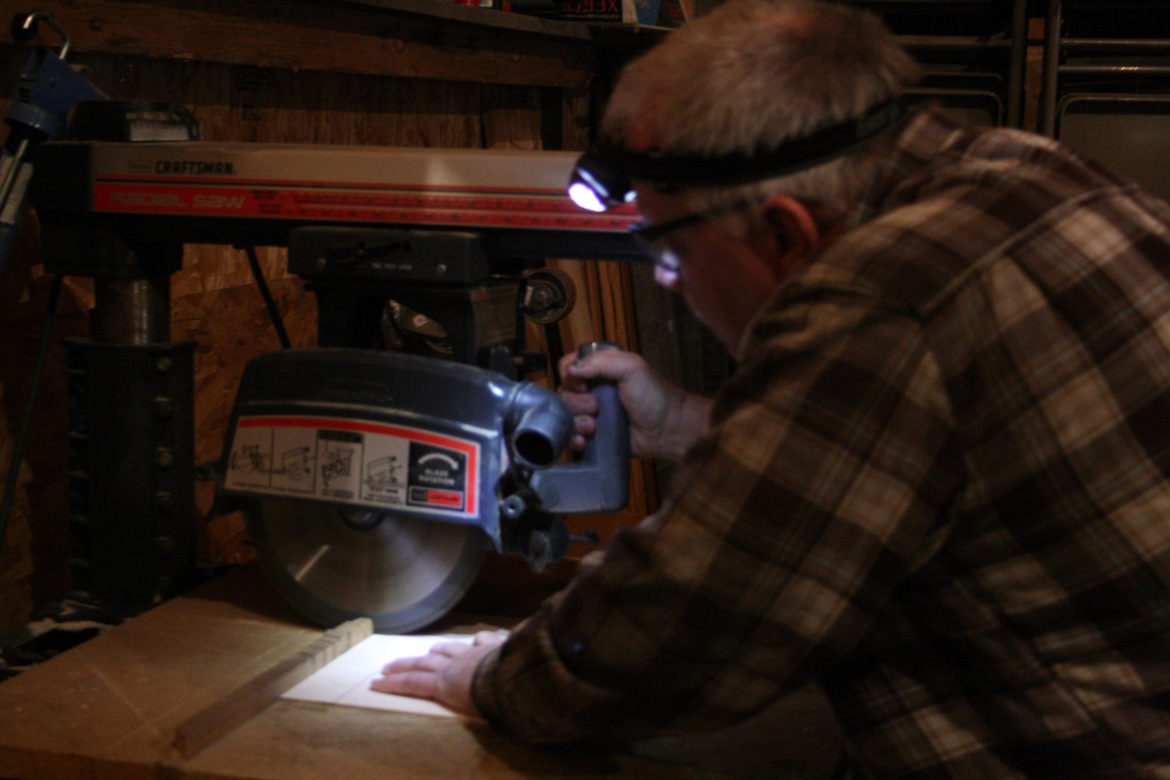
Sweet! Frames are done! (Also- check out the newspaper. That’s the Tecumseh Herald, from my neighboring town. I job shadowed a reporter there when I was in eighth grade and haven’t looked back since. Support your local newspaper!) I managed to convince my dad to do a little power tool operation for me…
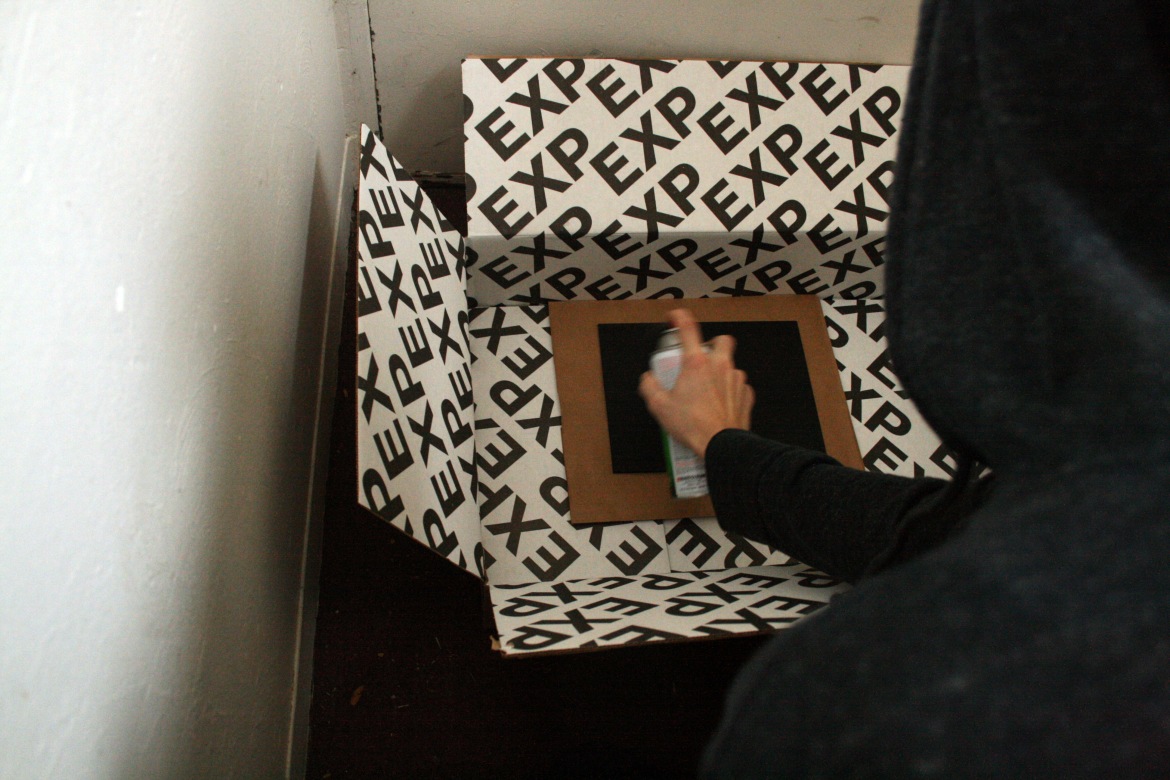
And I had two pieces of plywood perfectly sized to fit in the frame where the glass would have gone. I used some sandpaper (not pictured) to even out the surfaces, and then primed them with Rustoleoum primer (not pictured) and then several layers of Rustoleum chalkboard paint, enough until you can’t see the woodgrain anymore.
I really like chalkboard paint. I’m partial to spray paint though, since it doesn’t leave uneven brush strokes that catch when you try writing on the surface.
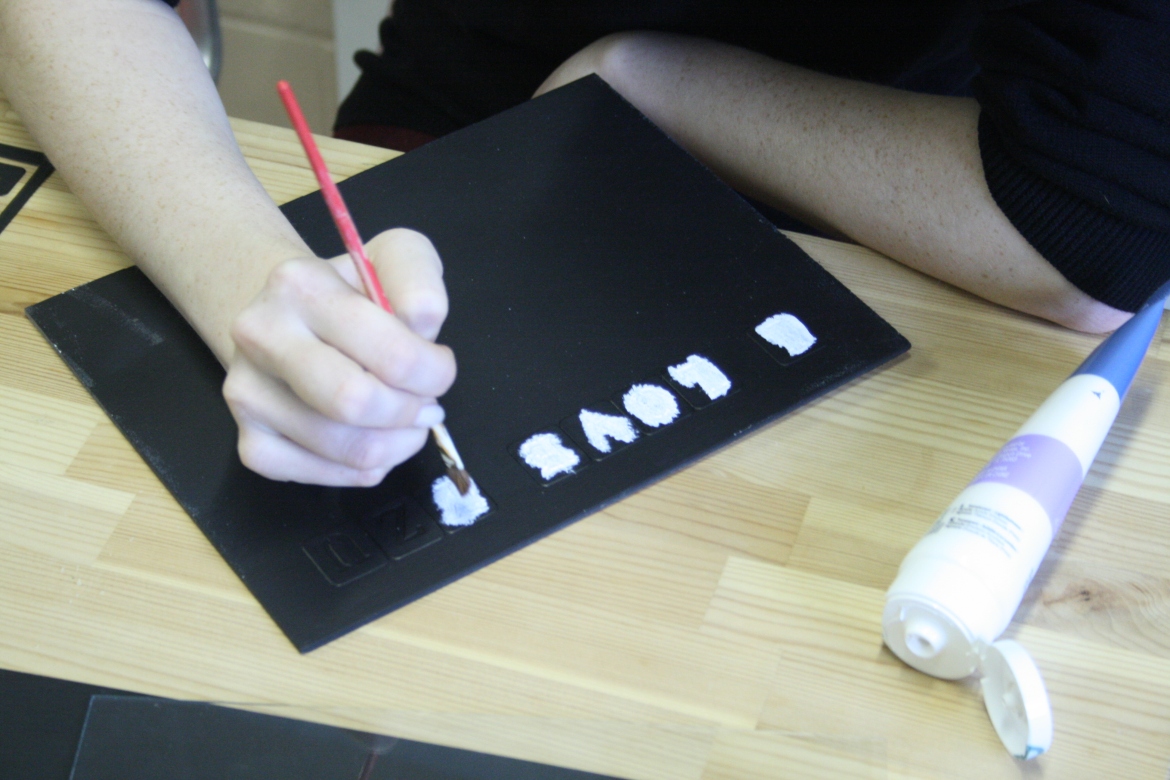
After giving the plywood boards 24 hours to dry, I used the reposition-able stencils to spell out “I LOVE YOU BECAUSE” on the chalkboards. I filled in the stencils with a few coats of plain white acrylic paint, the same type I used to paint the frame.
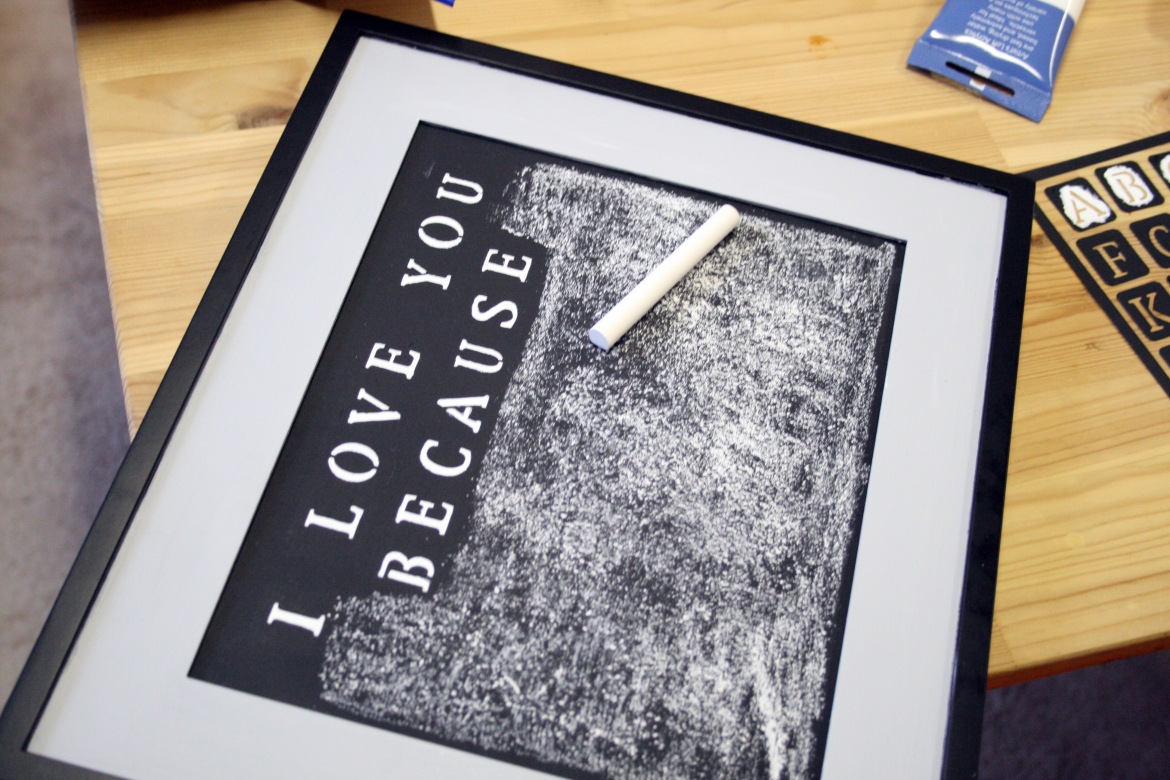
Perfect. You’ll notice the word “YOU” is spelled “YZU.” I only had one set of stencils, so I had to use placeholders. Worked out fine regardless. I gave the finished chalkboard a few hours to dry, popped it in its frame and then prepped it by rubbing a coat of plain chalk over the whole surface, like so.
This conditions the chalkboard and keeps the first words you write on the board from permanently etching themselves in. After I was sure the letters had dried, I wiped the board clean and wrote a nice message to Jake while he was cutting up pieces of bread for our fondue dinner. All done! The second chalkboard still needs its acrylic lettering done, but will be up on my side of the bed in no time for Jake to leave his cute messages on. I think Jake likes this project more than I do, to be honest. But what’s not to love?
Pst- what messages should I leave for Jake next?
