
Happy Saturday all! You know you’re old when you choose Quentin Tarantino movie night and Insomnia Cookies over bar hopping and clubbing on weekends. I’m taking the night to catch up on some homework Pinteresting, crafting and blogging. I spent my day finishing up the DIY project I started earlier this week: custom etched glassware.

This has quickly become one of my go-to crafts for the holidays. Last year, I found this really awesome set of Avengers-themed pint glasses from an Etsy shop. (Here’s a similar set, since the original vendor is no longer on the site.) Sadly, the seller had a family emergency and was unable to ship the glasses in time, but I was DETERMINED to get my dad those glasses. I Pinterested and Googled until I figured out that I could actually make my own etched glasses without any industrial equipment. That’s how I stumbled upon etching cream. I pulled an all-nighter the night before Christmas to make my dad these glasses. (Here’s a second picture.)
It’s been a year’s worth of practice, trial and error to finally perfect this craft. There are so many different ways you can go about etching, but this is the method that works best for me. Here’s what you’ll need:

When I first tried this craft last year, I used an X-Acto knife and a package of large address labels to do my etching. It worked, yes, but it was incredibly archaic and very time-consuming. It’s a good method if you’re only going to make one or two things, and most of them have straight lines. But a monogrammed curvy and swirly “S?” Not so much. This year, I got the process down a little better. On the right of the photo is a roll of adhesive-backed vinyl from Cricut. (If you’re fortunate enough to not be Randi and own a Cricut machine, you can say a quick grateful prayer to the crafting gods and skip the entire first half of this post.) You’ll notice on the left is my Walnut Hollow Versa-Tool. This thing has already paid for itself. While it’s advertised basically as a woodburning tool, I’ve discovered that it does so much more, including stencil making. Also- the glasses? A dollar a piece at Dollar Tree. Incredibly cost effective.
The stencils are in the middle- printed on card stock from an inkjet printer. I used InDesign to lay them out, along with the word “Smith.” Knocking out two crafts at once right now- wine glasses for me and a Christmas gift for Jake’s parents. The font I used for my monogram is Odalisque, and the font I used for “Smith” is Merveille.

Make sure you remember to flip the images before you print them! Once you have them printed, cut each of the designs out, and match them with a similar sized piece of the adhesive-backed vinyl. While I was printing, I had installed the ink transfer tip onto my Versa-Tool, plugged it in and set it on medium heat.

Notice that I taped the corners of them down to make sure it stayed aligned. I also used a Pyrex casserole dish to make sure I didn’t damage anything with the Versa-Tool, since it is technically advertised as a woodburning tool. You should have the inked part of your card stock directly against the vinyl. Use even, firm pressure to slowly rub back and forth against the card stock until the ink has started to take. If the side is taped down, it’s pretty easy to check.

Your vinyl should look something like this when you’re done. Unplug your Versa-Tool, let it cool, and remove the ink transfer tip. Install the tapered tip and plug it back in. Bump the heat up a little bit to medium-high. From here- you have two options. You can either put the vinyl right onto the glass like so:

Smooth out all the bubbles and creases. Vinyl is also a little bit stretchy, so you can pull and work your soon-to-be stencil around a bit to get it solidly placed on your glassware.
The second method- you can cut the stencil out first, and then put it onto the glass. I do either, depending on the project. For smaller stencils- like my monogram, it’s OK to cut it out beforehand. For more intricate designs, like the word “Smith,” I would very highly recommend putting the vinyl on the glass beforehand, and then cutting the stencil directly on the glass. This is ideal especially if your design has loops and holes in it. Once you’ve decided on your preferred method and your Versa-Tool is fully heated, start making your stencil.

Safety note: you are melting plastic. There are fumes. Make sure you work in a well-ventilated area. Also, this tool gets up to 950 degrees. Be very, very careful with it. The tool should be hot enough to glide right through the vinyl. It won’t harm the backing at all, so it’s almost as though you’re writing with a very hot oversized pen. Trace around the edges and peel out your unwanted portions of vinyl. If you cut your stencil ahead of time, transfer it to your glassware.

Regardless of which way you cut your stencil, you should now have a fully functional stencil applied to a piece of glassware. Use a craft knife to clean up the design a bit, if you so desire.

Now, you can start your etching. I use Armour Etch- works perfectly. Use tape to cover any surfaces of the glassware that the etching cream might drip onto, and use a brush to liberally apply the cream to the glass.

Let it sit for about 10 minutes, and then rinse the cream off, peel the stencil off, rinse again and dry. You’re done!

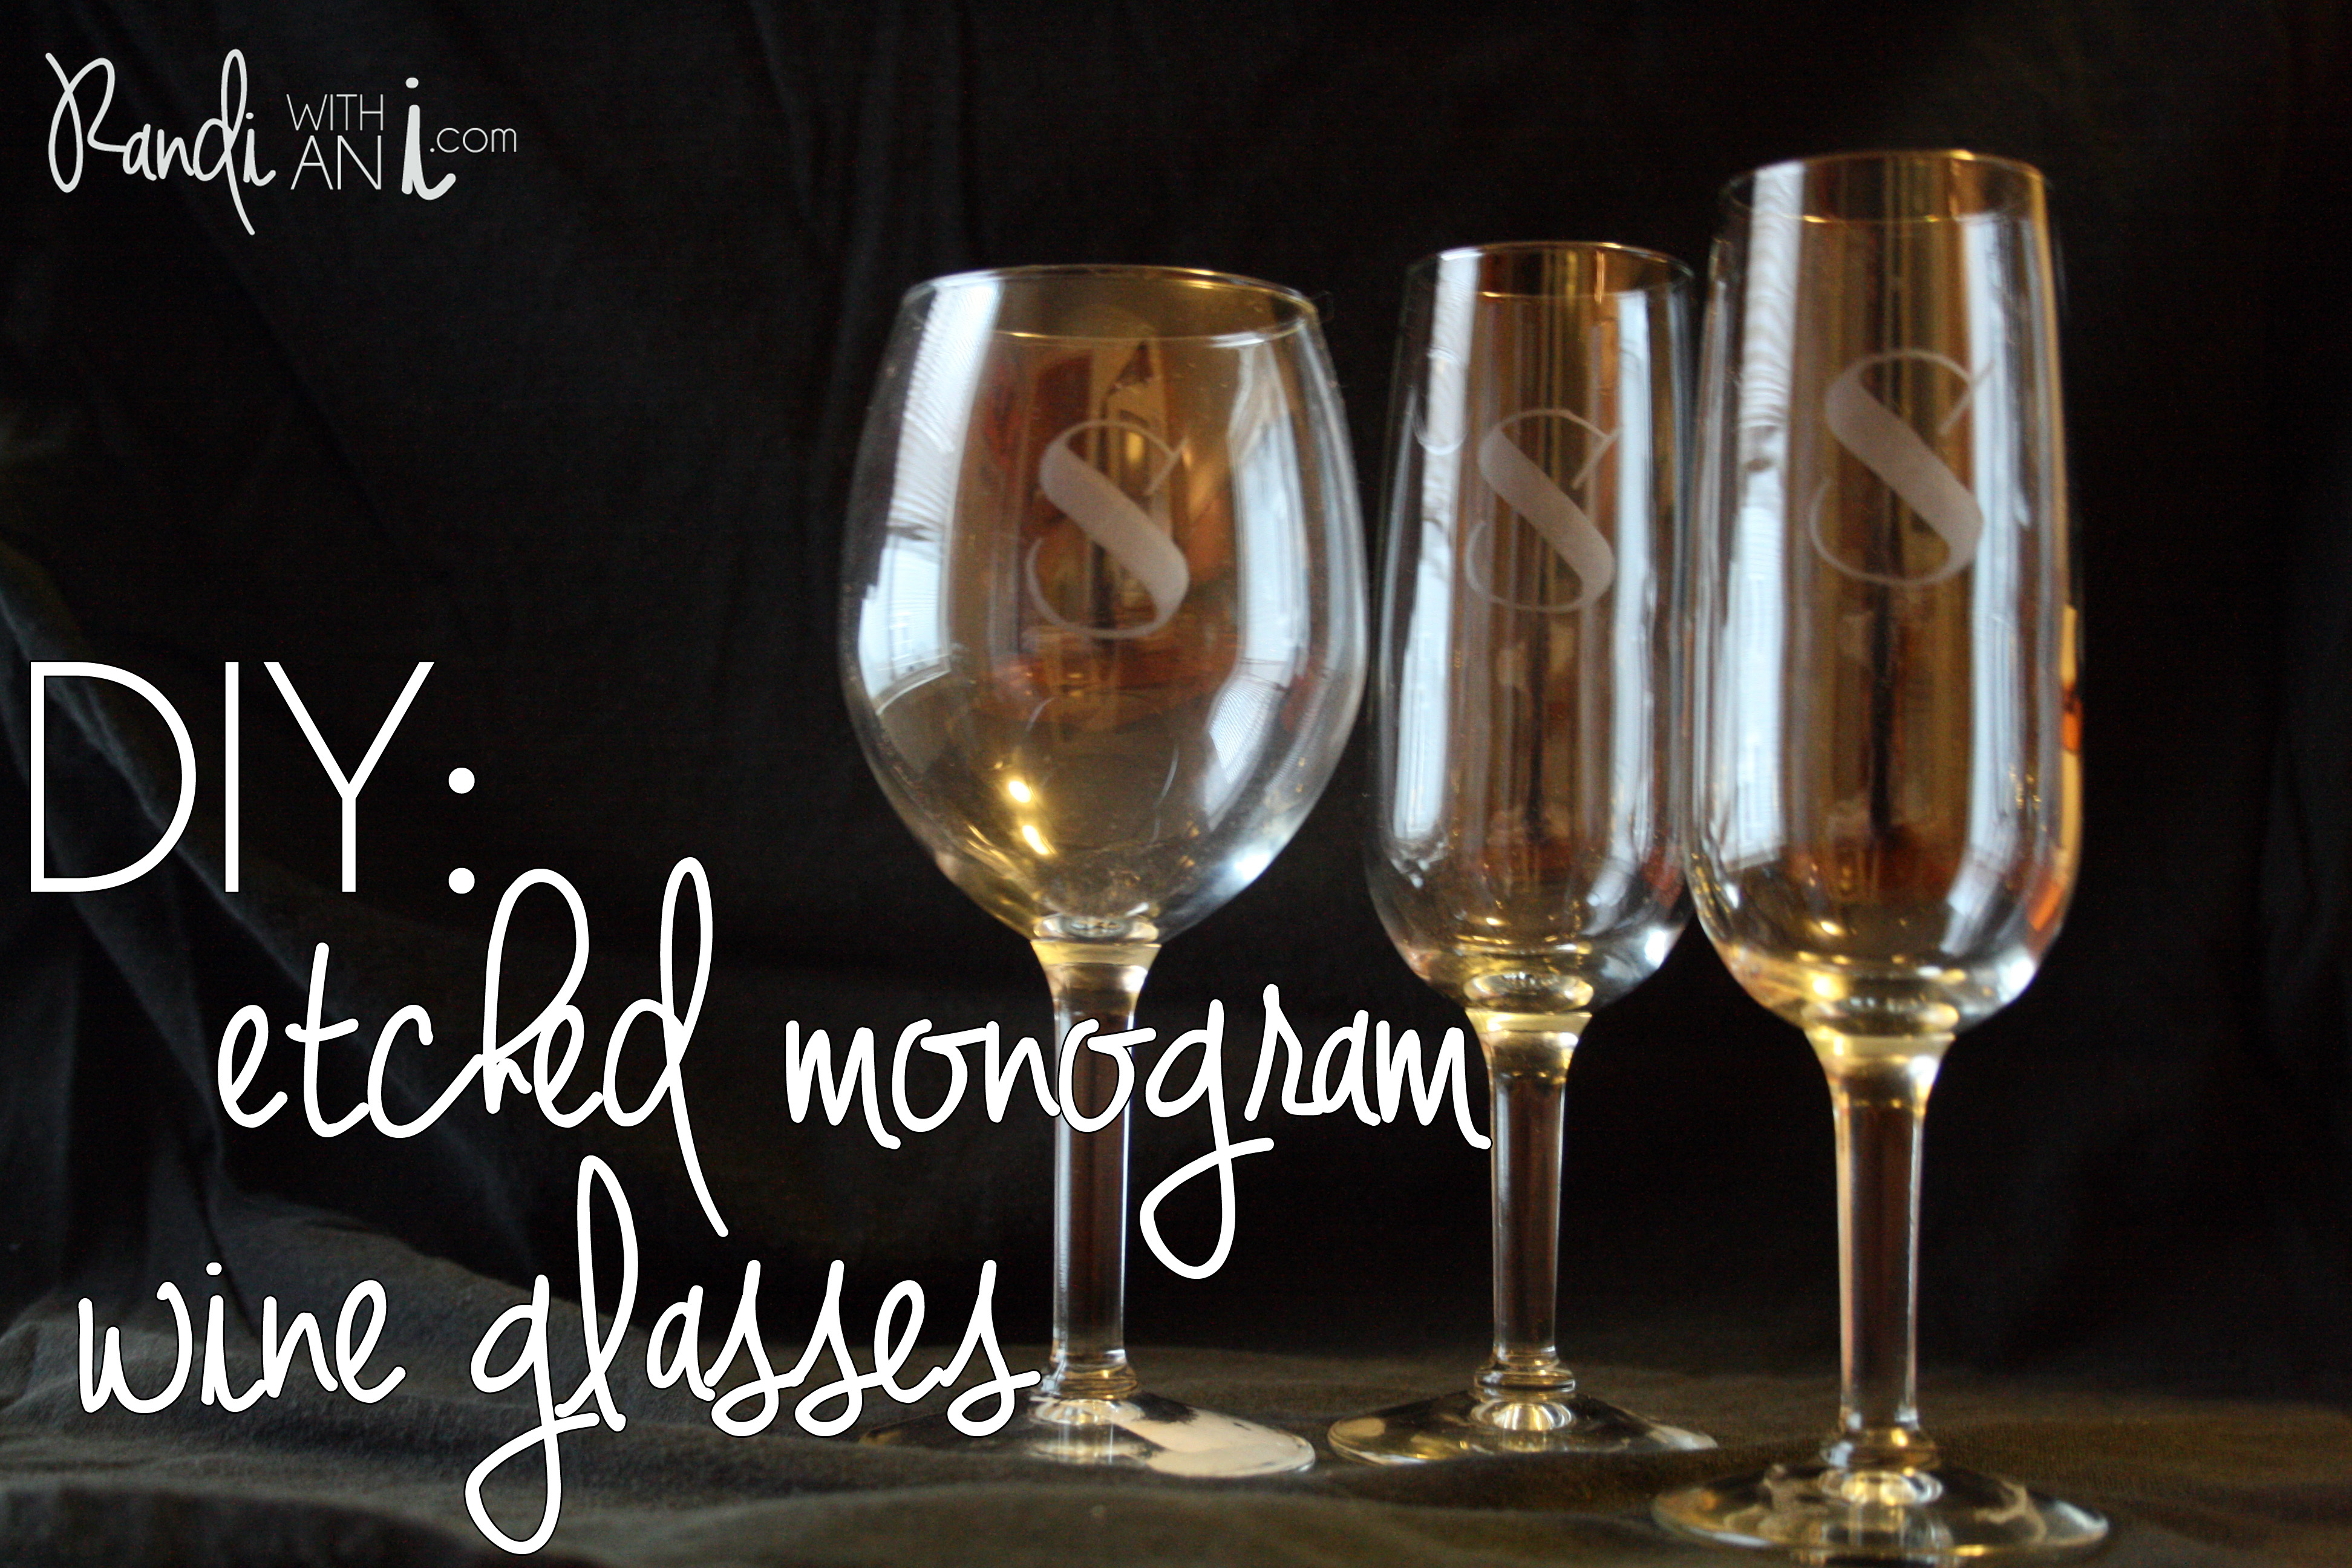
Pretty cute, right? It’s a little time consuming if you have intricate details, but aside from that, it’s a really easy craft with a huge wow factor. Have you done glass etching before? I’d love to see your projects!
Happy etching!


