When I was a little kid I was deathly afraid of fire. No joke. I wouldn’t go near candles and the thought of even lighting a match was enough to give me a miniature nervous breakdown.
Seriously- even in high school AP Biology- I made someone else handle the lighter.
It took me quite some time to get over my fear of flames, so you should all be shocked that I made my first attempts at pyrography (yes pyro like fire) aka: woodburning this past weekend. It was surprisingly not as hard (or scary) as I thought it would be! I didn’t burn myself at all.
The idea kind of came to me a few weeks ago when I decided I wanted to make a one-of-a-kind Christmas gift for a special someone. (I’m not naming what or who because I don’t want to ruin the surprise for all parties involved.) I was super excited because my parents told me they had a woodburning tool lying around, and my dad has some fresh pine boards he wouldn’t mind me disfiguring for the sake of my crafting addiction. I figured if I wanted to try using woodburning to make someone a gift, I needed to practice first.
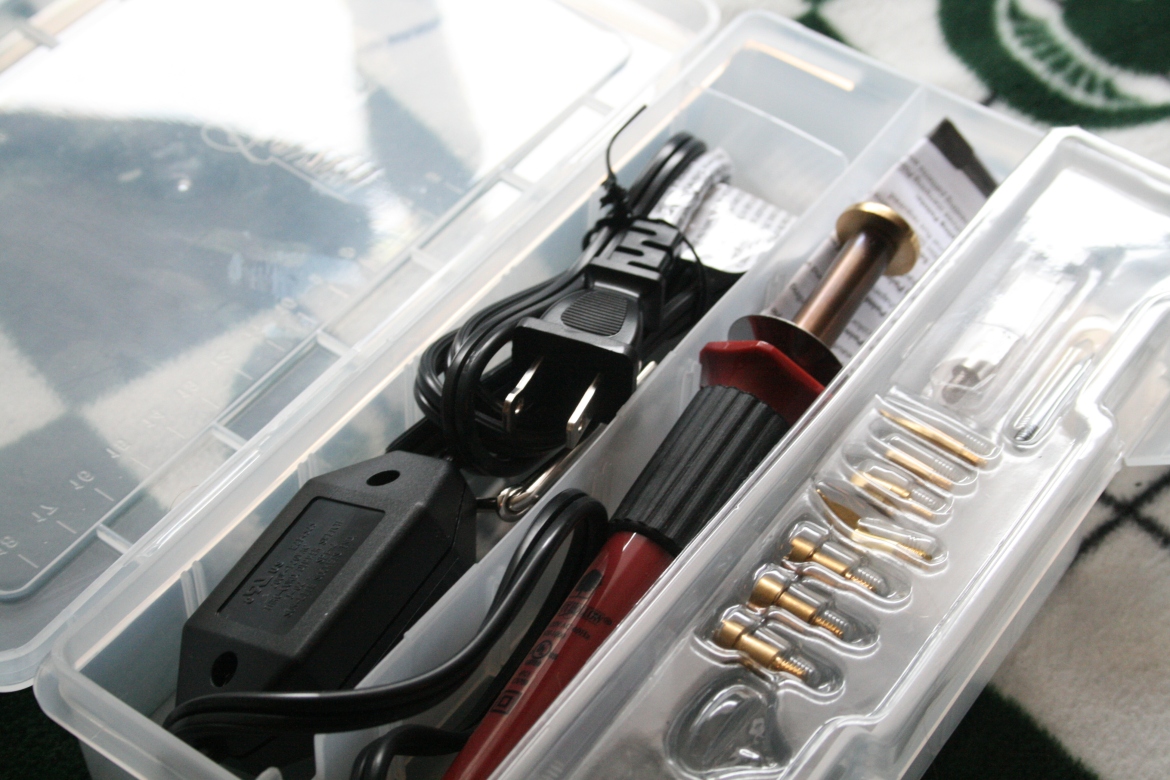
Jake (my boyfriend) picked up a wooden plaque at JoAnn Fabrics and, after finding out my parents actually didn’t have said woodburning tool lying around, I snagged a Walnut Hollow Creative Versa-Tool with my half-off coupon at JoAnn. Here’s a useful aside- if you text “COUPON” to 56266, you’ll get all sorts of offers sent to you via text message from JoAnn Fabrics. I rely on a combination of these, the fliers available at the door and the fliers you get at checkout to never pay full retail price for anything there. Back to the woodburning tool- there were a few less expensive options, but I wanted one with a heat control because I have a hunch this might help me with a few other projects I have planned. Plus- this came with all sorts of nifty tips.
The tip that’s on that bad boy right now is the ink transfer tip… I have yet to try it, but supposedly, it will transfer ink jet designs onto “a variety of surfaces,” according to the box it came in. Eh, worth a try. Anyway- I plugged the tool in and cranked the heat up and waited about five minutes while I prepped my other items.
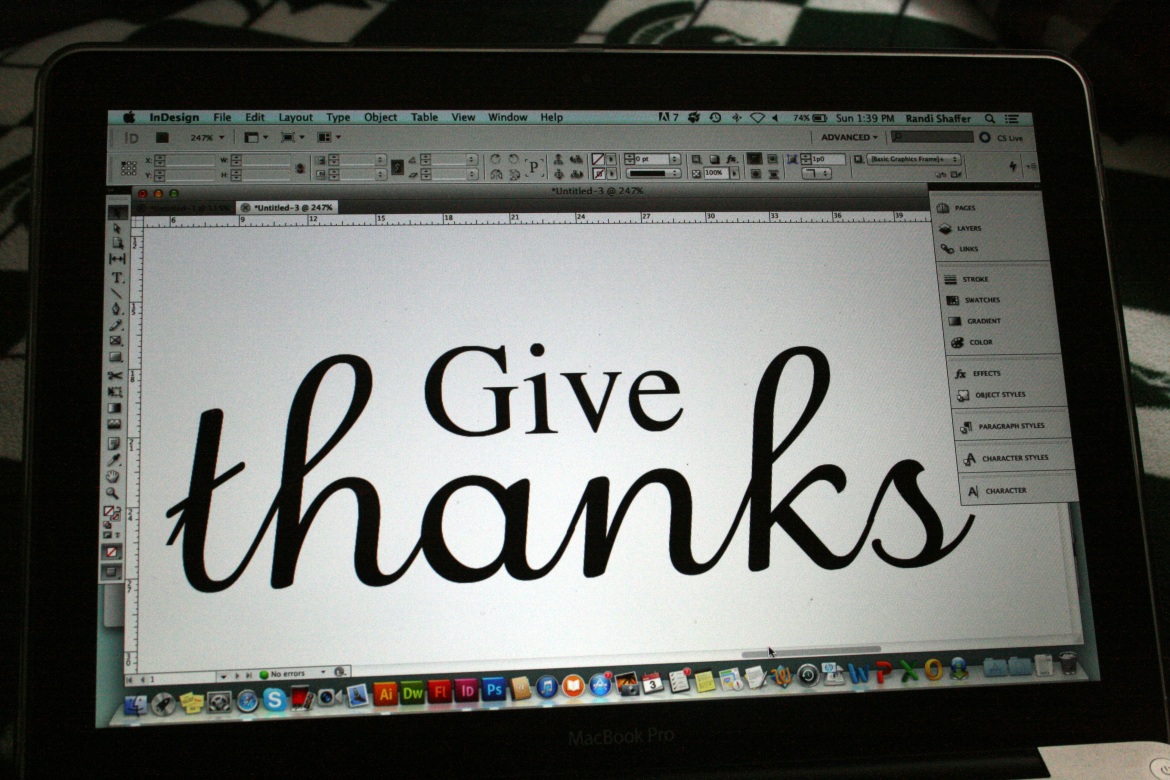
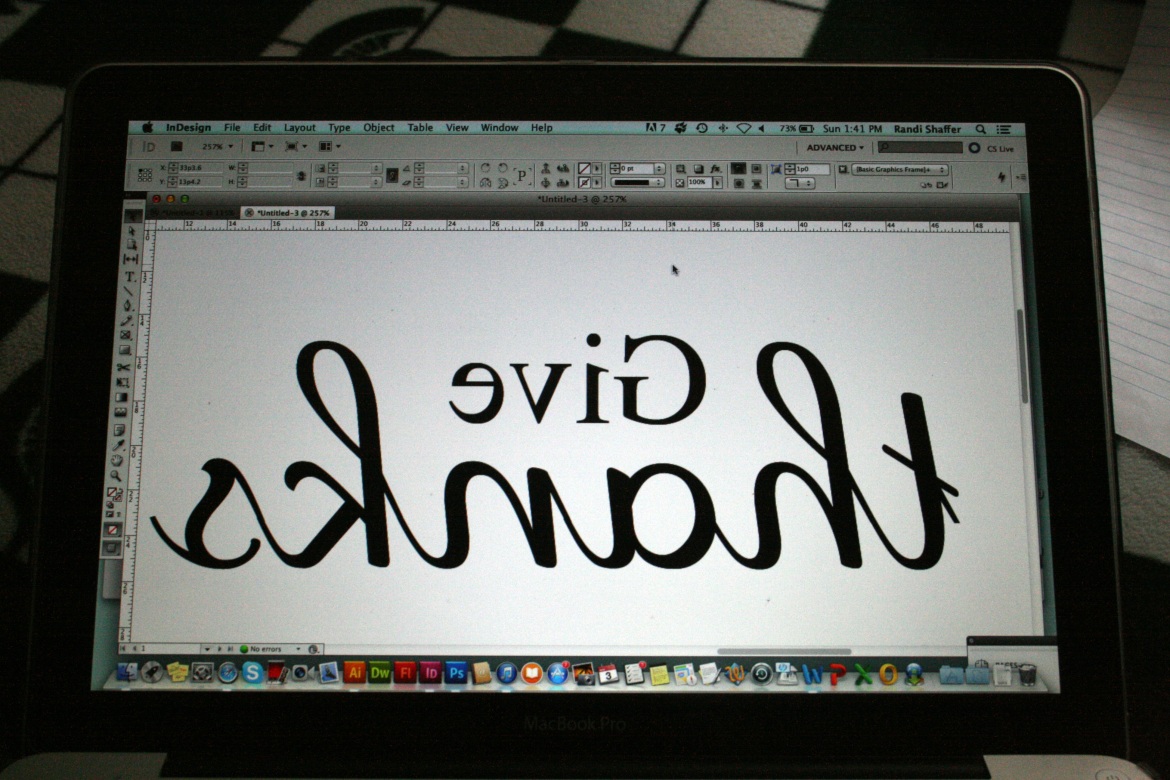
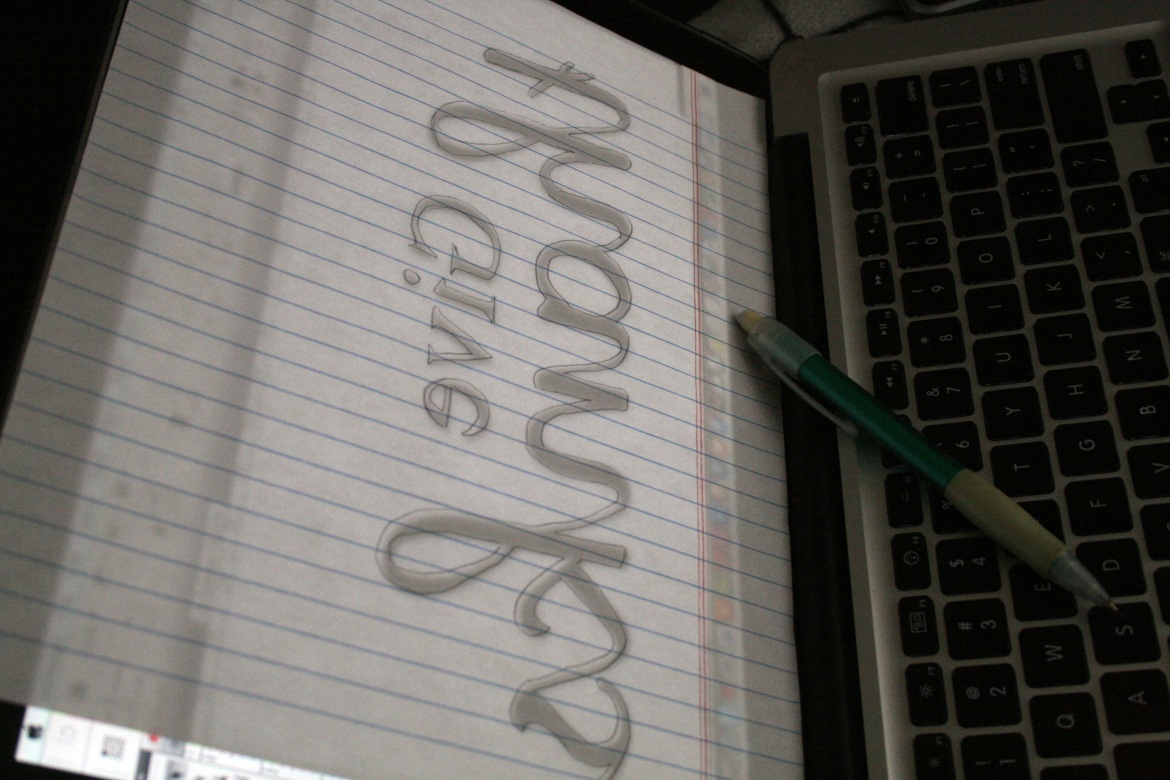
I used InDesign to make my typography for the wooden plaque. I designed it and then flipped it so it would transfer correctly.
The fonts I used are Times (standard on any word processor) and Merveille, by the way. Because Jake doesn’t have a printer at his apartment, I carefully used a pencil to trace the design on a piece of paper right from my MacBook’s screen.
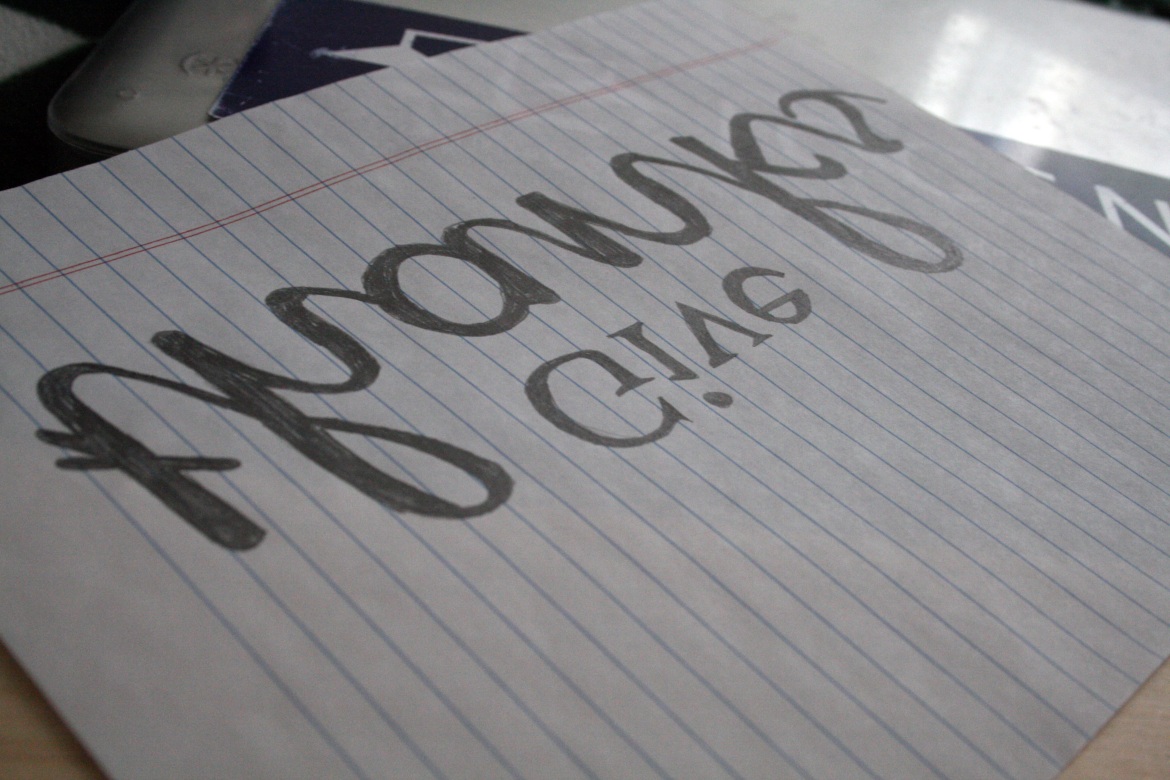
Then I used the same pencil to heavily fill in all the letters.
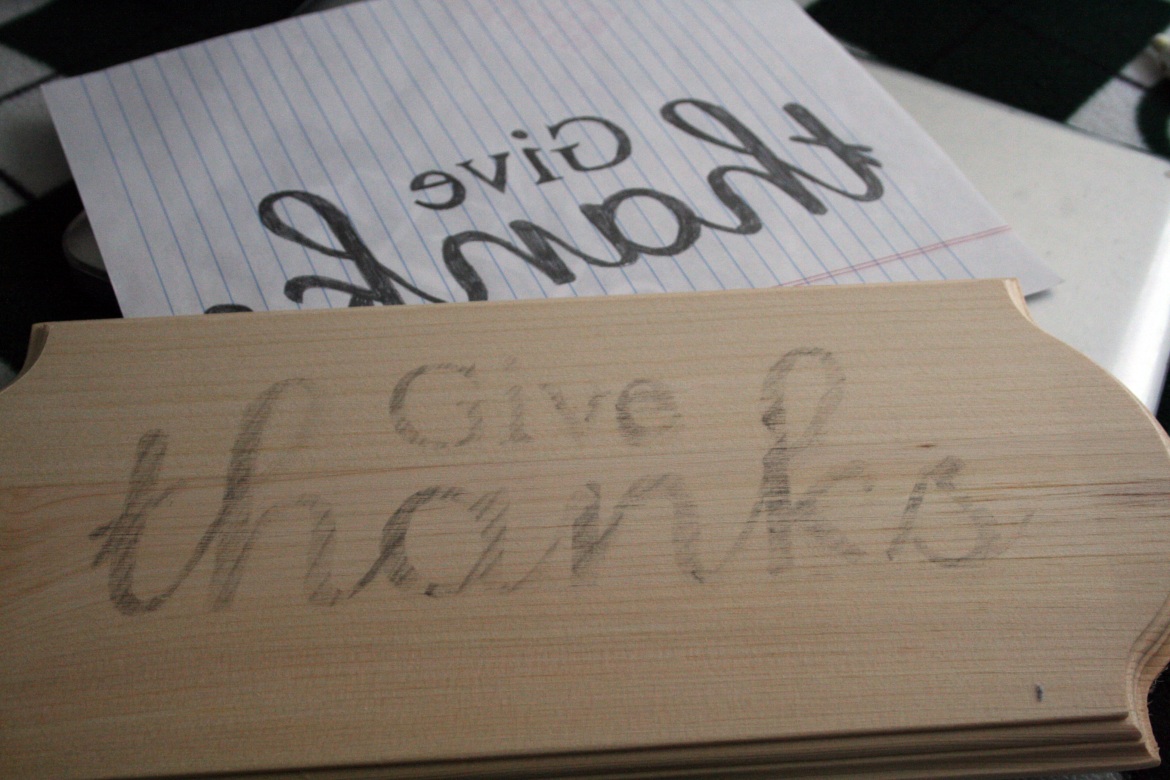
Looking good. I spritzed the surface of the plaque with water, and then placed the paper overtop and rubbed with the side of my thumbnail to get as much pencil lead onto the wooden plaque as possible. Yes, this ruined my manicure. Oh well.
You’ll notice that the “e” is a little messed up on the “Give” part of the plaque. I didn’t use water or rub hard enough the first time, so I had to try a second time. The “e” is the only part of the design that took the first time, which is why it’s a little messed up. You’ll notice it pretty badly in the photograph of the finished product. I got a little upset that it wasn’t perfect, and I had to remind myself that this was just a test project.
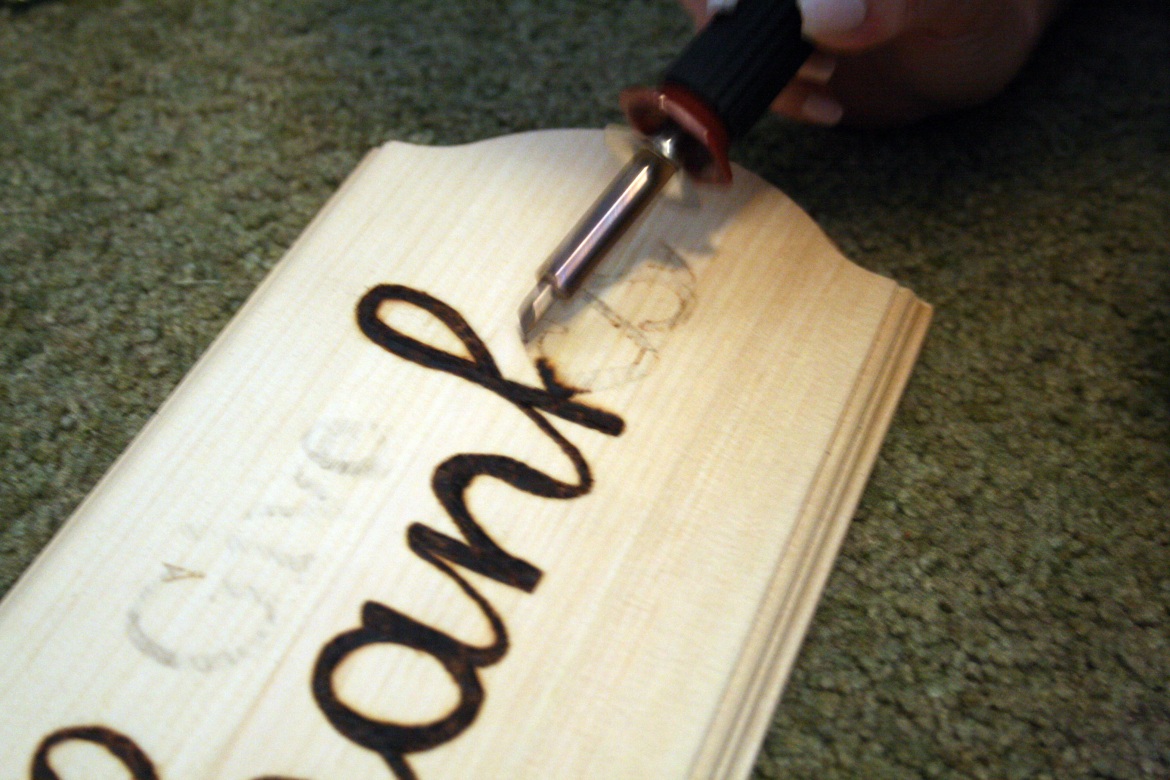
After your tool is warmed up and your surface is prepped, burn away! Also. Be careful if you’re a klutz like me. The packaging says this tool gets up to 950 degrees, which sounds pretty painful to my skin.
It took me a while to get the hang of it. I used the “general” tip on the tool, and outlined the letters with the pointy part first, and then used the broader side to fill the letters in. I’m obviously nowhere near proficient in using this tool, and you can tell if you look closely at the plaque in real life, not in the kind of blurry photo Jake took of me at work in his dark cave of a bedroom. The letters aren’t filled in with any sort of uniform pattern at all. The slower you move the pen, the darker the wood burns, so take your time. The wood burns in a little bit, so it’s kind of like using a ball point pen on a refrigerated stick of butter. The best wood to use for this sort of project is a soft pine that’s easy to cut. Most of the wood available at JoAnn Fabrics was suitable, so don’t worry about stressing out finding the right type of wood.
Have you tried woodburning before? Any tips for this amateur?

